Disclaimer: Proceed at your own risk, I will not be held responsible to any damage you do to your pens. The directions I present here are standard procedure for replacing sacs in lever filling pens. Use common sense, if you don't feel competent enough to do these repairs don't do them. Please send your pen off to a repair person. Please keep in mind that sixty year old materials may be brittle due to age and sometimes a pen will just break even if you follow all the directions carefully. Everyone who has repaired many of pens can vouch for me.
More often than not when you come across an old pen the sac will be bad- the rubber thing on the inside that holds the ink. Pen sacs were and still are made from natural latex, which as it ages loses its elasticity and becomes hard and brittle, just like tires on a car or bike or other items made from natural rubber. Other times one is lucky enough to come across a pen that still has a good sac, usually newer pens dating from the late 1940s to early 1960s when cartridges and ball points became popular.
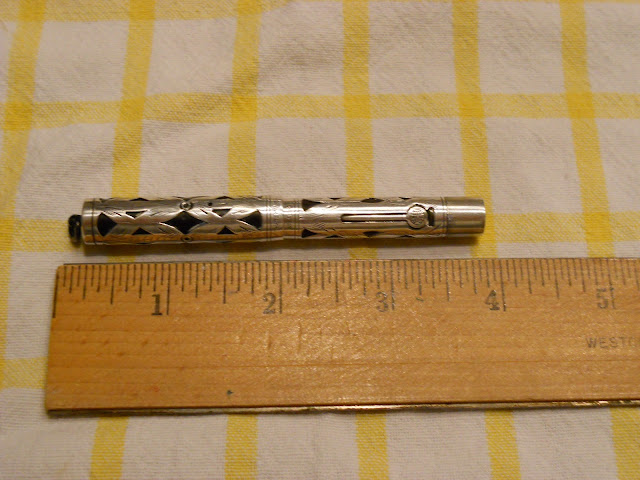 |
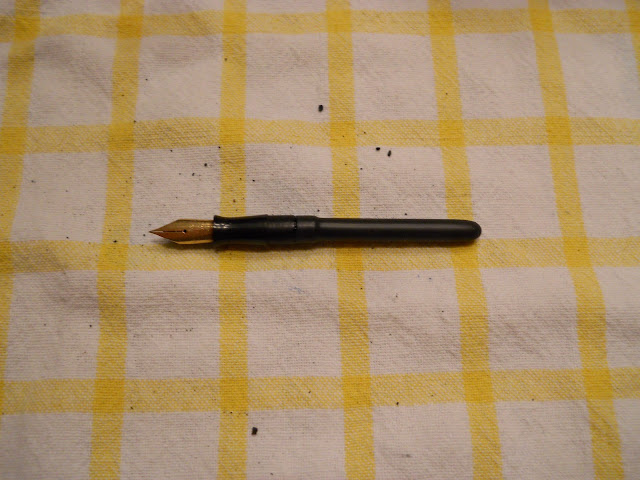
| Todays patient: Waterman's 452 1/2 V, sterling silver filigree over hard rubber |
So, how do you know if a pen has a bad sac? It's usually really easy to tell, first try lifting the lever if it's a lever filling pen like the one pictured above. If the lever doesn't lift chances are the sac is hard and unyielding, if this is the case don't force it, you could end up breaking the the pin or c-ring that holds the lever in place. If the lever does move but you still suspect the sac might be bad, give the pen a shake. Sometimes a sac will crumble and the loose pieces will be rattling around inside the pen, no rattling means your sac should still be good and you probably don't need to do anything to the pen other than give it a basic cleaning. If that is the case, to be sure the sac is good and has no leaks simply fill the pen with water and let it sit over night, in the morning check around the lever, or button in the case of button filling pens for dampness. Any dampness means you have a leak and the sac will still need to be replaced.
Where to Begin
Replacing your first sac can be somewhat daunting, it was for me the first time I did it six years ago. There are parts you need to purchase, unexpected surprises, precautions that need to be followed and the chance something may go wrong. Plastics that are fifty plus years old can be fussy, they may have shrunk over the years, become brittle or can be undergoing degradation depending on how they were stored and treated. For example celluloid can be destroyed by storage in damp places or by UV light or being kept in sealed containers as it needs to breath. Hard rubber is sensitive to UV light and dampness can badly discolor and degrade it. Polystyrene plastics, which became popular during and following WWII are notorious for shrinking and becoming brittle. At the time they were a new and untested technology, not to mention the best materials were going to the government for the war effort. It's very common to find Eversharp Skyline pens with cracked and distorted barrels and caps because of this.
 |
| Some items you will need: Amber or orange shellac, a small flashlight, eyedropper (syringes work well too) small brushes, pocket knife (file and scissors very useful), rubber kitchen grip, sometime to scrape away old sac remnants (hair pins work great for this, some people like dental tools). And sacs! (not pictured) |
First start by getting together all of the items you will need, many of them can be found around the house or purchased inexpensively at your local hardware or drug store. Brushes can be found at pet or aquarium stores near the fish tank filters and pumps, but cotton swabs work too. You will need a heat source to warm the section and make it easier to open. Sacs and other pen parts must be purchased from a specialty supplier, links provided at the bottom of the page. After getting most of these things together you're ready to open the pen.
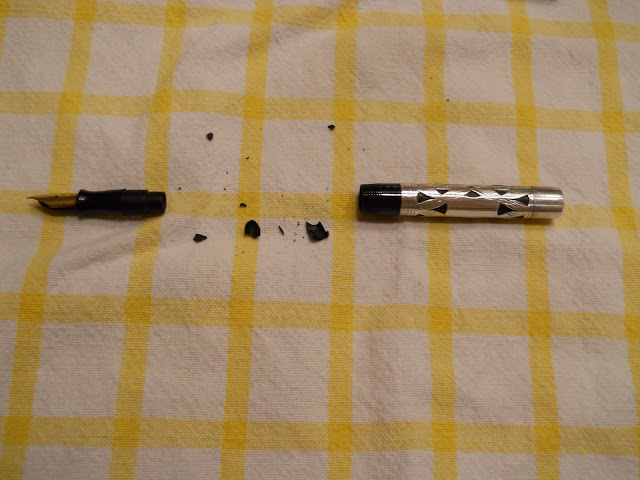 |
| Pen is opened: old sac remnants pour out |
I use a hair drier to heat my pens to get them open, I know there are people out there who use heat guns but after I had a bad experience with one I haven't used it again. (melted pen anyone?) I should note I have also heard others mentioning melting pens with hair driers, so if yours gets really hot don't use the highest setting. With the hair drier heat the pen evenly around the threads until they feel warm, then try twisting the section, to get a better grip use a rubber kitchen grip. If the section doesn't want to turn don't force it too hardly, let the pen cool and heat it longer and try the section again. Keep doing this until it comes loose, be patient, in many cases the pen hasn't been opened since it left the factory. Also, there could be a load of old ink cementing the section into the barrel, a plastic or celluloid pen can be soaked for about an hour in cool water up to the barrel threads. Hard rubber pens should never be soaked like this because water can discolor them. Neither should pens made from a material called casein, it is made from milk protein and will melt when exposed to water. These pens are mostly European in origin and not common in the US. Casein can be identified with its sour or burnt milk smell when rubber between your fingers.
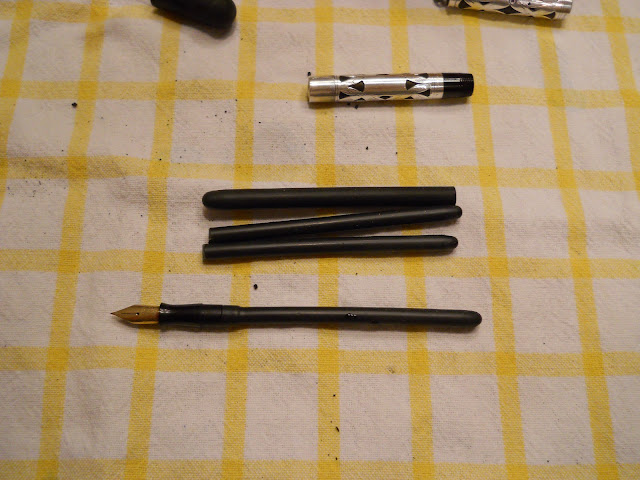
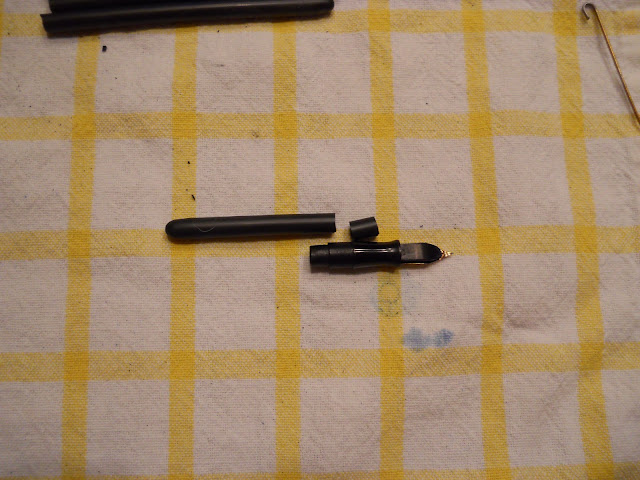
When you get your pen open the old sac needs to be removed. Sometimes it will fall out in one piece, or only pieces will fall out like in the above photo. If there are bits still stuck inside this is when you use your hair pin, dental scaler, small paint brush handle, ect to break them up. Using a small flashlight you can look inside and see if there are any stubborn pieces stuck inside. Once you have all of the old sac out you can clean the pen. A soak in cool water will usually clean a nib, plastic and celluloid pens can be rinsed with cool water to remove any old ink inside and out. Eyedroppers or syringes work well for this. When you are finished dry everything well inside and out, paper napkins and towel work great for this. Stubborn ink clogs in nibs and feeds can be tackled with diluted ammonia in water or dish soap.
 |
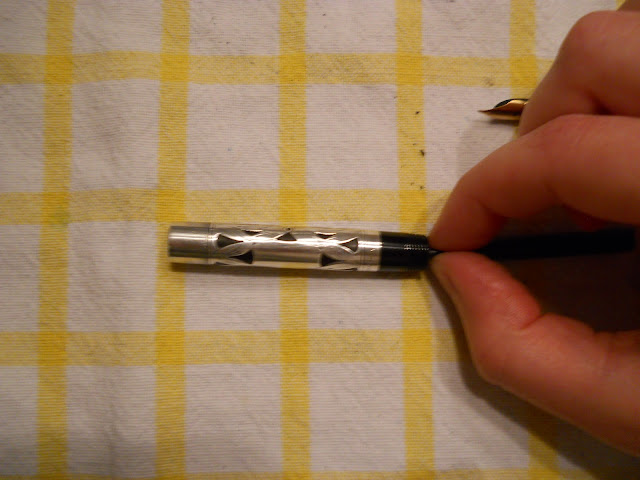
| Placing the bulb of an eyedropper on the section nipple is a good way to flush a nib and feed. Flush until the water runs clear. |
Once you have your pen clean you can find out what sac you need. Pen sacs are available in different sizes and styles to fit different pens. Suppliers provide lists of sizes for popular pen models and directions for finding what size you need if your pen is not listed. Since I do many repairs I buy bulk packages with an assorted sizes so I almost always have something on hand that will work. There are also silicone sacs, which are great for celluloid pens that are prone to discoloration due to a chemical reaction between the colorant in the plastic and a gas degrading latex produces.
 |
| Trying on sacs for size: Although some will disagree with me I try sac until I find the one that fits best |
Installing Your Sac
Pen sacs come in one length so you must find out how much you need to cut off in order to get it the right length. It is done by inserting the sac into the barrel until it is all the way to the end and then pinching it with your fingers at the bottom. Pull the sac out of the pen and trim it off right above your fingers.
 |
| Just like this |
If you haven't already noticed the sac is still not short enough, one has to account for the section. To determine how much more you have to trim, lay the sac next to the barrel and the section and pinch it where you need to cut it. If you haven't already done this, clean the section nipple where the sac attaches. Finger nails or a file will help you with this.
 |
| Like this... |
 |
| ... And this |
Now I bet you are wondering what the shellac is for and now is when you need it. Shellac has been the way sacs have been glued to the section nipple for years. There are some who use super glue, but don't do it, it will only cause problems for future repairers or yourself if you have to do later work on your pen. Spread the shellac evenly over the section nipple and slip the sac over it, let it dry for about thirty minutes before trying to put the pen back together. Pat yourself on the back, if you've made it this far you're doing a great job!
 |
| Glued... err shellacked on pen sac |
After thirty minutes are up (I say thirty minutes because you're less likely to have problems with the sac slipping off while putting the pen back together if the shellac has time to dry) ease the section back into the pen. Coating the sac in talc will help it slide in easier and helps prevent latex rot, please note you have to use 100% pure talc, not baby powder or body powder, these contain oils that will rot your sac. A little heat will help if it's being stubborn.
The Last Steps
Congratulate yourself, you have fixed a pen that's been out of order for years...
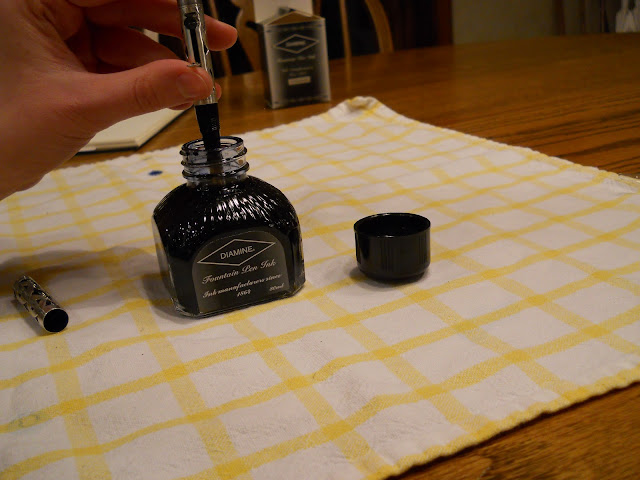 |
| ... Ink... |
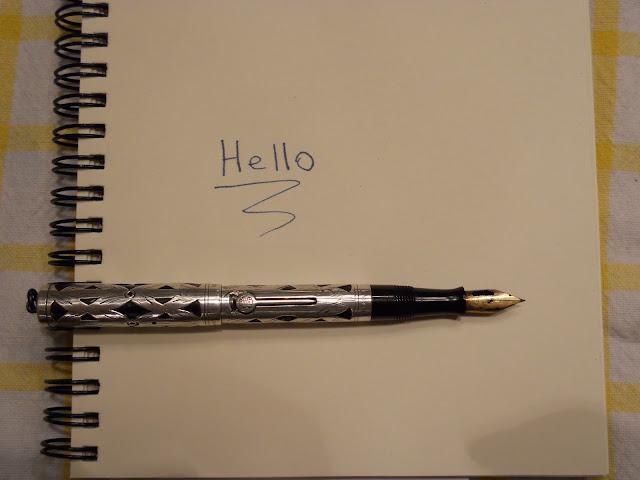 |
| ... Write! |
A Few More Things
After doing repairs for so many years you start to forget how overwhelming and intimidating doing your first can be. You begin to take for granted what now seems to you to be common sense. Here I have listed a few more things that one should consider.
- Never use acetone or isopropyl alcohol (rubbing alcohol) to clean a pen unless you want to destroy it. Both of these eat celluloid and will damage other plastics.
-Never use hot water on celluloid it will make it irreversibly cloudy. Stick with cool or room temperature water.
- Never use metal polishes (Brasso, ect) on pen furniture (trim). It can ruin the plating and plastic. If you are seeing what looks to be tarnishing it's because the plating is worn away and the base metal is exposed.
- A sac that is a little too small is better than one that is too large and is crammed inside the pen.
- Some pens have threaded instead of friction fit sections, unless you are absolutely sure the pen is friction fit treat it like it is threaded. This will prevent stripped threads, cracked barrels and sections.
- Always assume the pen you are working on is made of brittle material.
- Never force any stuck parts. Gentle heat and soaking (depending on pen material) can usually loosen them.
- Keep celluloid away from open flame and extreme heat. It is extremely flammable!
- Do no harm. That is if nothing is wrong don't fix it.
Pen parts links*:
In the UK
Please feel free to ask questions. I might have the answer or can point you in the direction of someone who does.
* Not in anyway affiliated, just a happy customer or have heard positive reviews


